Easy Baby Dress Crochet Pattern

Completed Baby Dress Pattern

This is an Easy Baby Dress Crochet Pattern that is simple to follow and written for the most part in laypersons terms.  The size is newborn to size six months.

I wanted to create a design that has a traditional shell pattern on the skirt with standard double crochet bodice and single crochet pattern on the straps and top of neckline.    This design can easily be augmented for larger sizes by adding multiples of eight extra stitches to the width and 1 extra row for every centimeter (or half inch) of length on the bodice and skirt.

There are two types of yarn used in this design and they are economical, and readily available at major department stores.   Many of my family members are into knitting and crocheting and they think I shop for yarn at specialty yarn stores.  Sometime I do, but most of the time I find nice yarns at places like Walmart as well.  These yarns are pretty common:  Red Heart Soft touch worsted yarn and Red Heart Boutique Unforgettable yarn.  It doesn’t get more basic than that.  These yarns are not the same as each other yet they do complement each other and they do work well together.

Baby will feel very comfortable and the design can easily be worn in winter as well by adding leggings and light weight matching turtleneck underneath.

Feel free to visit my Ravelry Site for a link to the downloadable pdf file.

Thanks again and stay tuned for more of my designs and patterns.

Easy Baby Dress Crochet Pattern in downloadable pdf format.

crocheticon

Save

Posted in Needlecraft | Tagged , , , , | Leave a comment

Scrappy Sock Legwarmers

image  image-17

These scrap yarn legwarmers are easy to make and perfect for using up our leftover knitting or crocheting scraps.  The pattern for these socks is outlined below.  The leggings themselves, are perfect for someone aged 6-12.  Stitch sizing would need to be adjusted for larger sizes.

Rated ‘Easy’, any beginner can have these made over the course of a few hours.  It requires one basic stitch and two sizes of crochet hooks, along with some leftover scraps of yarn in various colours, weights and sizes.  I would recommend that you begin by using the heaviest weight yarns for the toe / foot, and vary the weights up the leg.

Begin crocheting legwarmers at the toe:

Use a 9mm hook and heavy-weight yarn (use 5mm for thinner, lighter weight yarns).  Create a slip knot,

image  image  image  image  image  image

Legwarmers Round 1:

Chain three and yarn over and insert hook into first loop.  Yarn over and pull through all three loops.  This is the first double crochet (or dc).

Double crochet into the same hole, another seven times (8 in total).  Slip stitch to close.

 image  image  image  image  image 

You have created the first round.

Round 2: Double crochet (dc) two times into every stitch for a total of 16 stitches.  Slip stitch to close the second round.

Round 3: Double crochet into every hole one time.  Total of 16 stitches.  Slip stitch to close the third round.

Change colour.  Continue dc into every hole for additional rounds, changing colours every two or three rounds.  After the first 8-10 inches, you can start to add in different weights of yarns (I do this to create a thicker sole on the foot).

Image-1

If/when you reduce the weight of the yarn, from a very thick yarn to a very thin one, for the first transition round, dc twice into every hold of the thick yarn stitch.  After completing the round, continue single crochet into each stitch.

If/when you transition from a thin yard to a thick one, you need to do the reverse.  That is, double crochet the thick yarn into the first hole, then in every second stitch of the thinner yarn round.

legwarmers

If you have any issues following my legwarmers instructions above, please leave a reply below or email me for further assistance.

I would appreciate any feedback you all may have.

Thanks and happy crocheting!

Save

Posted in Needlecraft | Tagged , , | Leave a comment

Upside Down Pineapple Cake

upside down pineapple cake   upside down pineapple cake

All too often I hear people say, “Oh I can cook but I can’t bake” or vice versa…and for some, we may feel like imposters in the kitchen when we attempt to try our hand at culinary baking skills.  Like Fred and Barney, for example, in the infamous episode of the Flintstones, when he and Barney pose as their wives at the TV show bake off with Wilma’s “Up-side-down-flint-rubble-bubble” cake recipe.

upside down pineapple cake

It’s definitely, reminiscent of home life back in the 70’s.  And we all know of course, that their infamous recipe was a ‘play’ on the upside down pineapple cake, so easy to make that even Fred and Barney could do it and pull off first prize.

This is one o those recipes that make me think of home, with momma in the kitchen whipping up a nice treat to take to a family gathering, or one of the many dinner parties we’d have with friends. Upside down cakes are now making a come-back. They are easy to prepare for any event or even for the kids on a lazy Sunday afternoon. They are so tasty, and elegant looking, that people will think you went to pastry shop to get it.

Pre-heat your oven to 350 deg F.

When the bottom becomes the top:

TOPPING INGREDIENTS:

cake1

For the topping you will need:

• 1 cup of sliced pineapple (drained and pat dry)
• 1/3 cup of brown sugar
• 1/4 cup of melted butter
• about 12 – 14 maraschino cherries

Directions:

Grease and flour the sides of a 9″ springform pan.

On the bottom of the pan, pour and evenly spread the melted butter. Sprinkle the brown sugar evenly over the butter. arrange the pineapple slices and decorate the centers with maraschino cherries.

Set aside.

CAKE BATTER INGREDIENTS:

cake2

For the cake you will need:

• 1/2 cup butter room temperature
• 1 cup granulated sugar
• 2 eggs room temperature
• 1 tsp baking soda
• 1 tsp orange extract
• 1 tsp baking powder
• 2 cups flour
• 1 cup milk
• zest of 1/2 a lemon

Directions:

Cream together the butter and sugar with electric stand mixer at medium speed for 2 minutes (until fluffy)

Add in the beaten eggs and beat for about a minute at medium speed.

Melt the baking soda in 2 tspn of warm water and add to wet ingredients along with extract.

Slowly add in the flour 1 cup first to the wet mix, continuing to mix as you are adding the flour

Begin adding the milk, alternating between milk and flour until the ingredeients are well incorporated.

When the batter is mixed, add in the lemon zest at the end and mix for about 20 seconds.

Gently spoon out the batter onto the pineapple layer and spread evenly around.

cake 3

Put in the oven and bake @ 350F for about 50 minutes. Note: Do not open the oven door before the 35 minute mark and even so, do not be tempted to check the cake for done-ness until the 45 minute mark. When checking the cake, insert a toothpick into the center of the cake. If toothpick comes out wet, continue baking.

Tip: When cooked, let cool in springform pan for an hour or so. remove outer ring of pan and trim off the center ‘hump’ of the cake (this will be important when you invert the cake. If you leave this center hump on, the top of the cake will crack when flipped).

When cake is cooled, place a paper doily on top (this is the bottom of the cake), and invert a cake plate over the doilie. Carefully lift and flip your cake. Gently remove the bottom of the springform pan.

I decorated my sides with a pretty ribbon until it was served.

Enjoy!!

Save

Posted in Recipes | Tagged , , , , , | Leave a comment

Best Tiramisu Recipe

tiramisu

I’ve searched high and low to try to find a ‘mascarpone-less’ recipe for TiramisuTiramisu is Italian for ‘pull me up’, which literally translated, means “pick me up”. After much searching, I found some recipes with combinations of cream cheese and smooth ricotta cheese, but I never quite felt they were as good as traditional mascarpone, until I started experimenting with the quantities. I find mascarpone to be very rich both in the pocket book and in taste.
For this recipe, you can substitute the ‘lighter’ and lower fat cheeses without compromising this dessert’s rich taste.

Ingredients:

• 4 eggs separated (beat the egg whites with pinch salt into a stiff meringue and set aside in fridge)
• 3/4 cups sugar
• 1 tsp vanilla
• 3 sticks of light cream cheese
• 2 cups reduced fat ricotta cheese
• 3 packages of lady fingers (about 48 cookies)
• 4 shots of espresso coffee
• 1 shot spiced rum
• 1 shot amaretto
• cocoa powder for dusting
• pinch salt

Directions:

• Add cream cheese to stand mixer and blend on medium for one minute
• add sugar and cream together
• add egg yolks and beat until creamy
• add in vanilla
• scrape sides of bowl down and continue mixing until fluffy
• add in ricotta and beat at low speed for one minute
• fold in egg whites with spatula.
• refrigerate the mixture while preparing / brewing the coffee

IMG_1039

In a shallow pie plate mix brewed espresso, amaretto and rum. Dip each lady finger and place on bottom of deep 9×13 pan. Cover bottom.

Spread half the mixture onto the cookie layer. Dip more cookies and place on second layer.

Once this layer is complete, layer top of the tiramisu with remaining mixture.
Don’t worry if mixture is a little loose as it will firm up in fridge. Once complete, flatten out top, and sift powdered cocoa on top. Refrigerate for one day prior to serving. Cut in 3″ squares to serve.

IMG_1045

**for a more decadent spin on this dessert, replace the middle layer of lady fingers with President’s Choice Decadent Chocolate Chip Cookies dipped in the coffee / alcohol**

Enjoy!

Save

Posted in Recipes | Tagged , , , , | Leave a comment

Crown Royal Maple Finished with a Twist

crown royal maple finished

Nothing says Canadian more than the unique flavour of Maple when it comes to discerning Canadian tastes.  As 2015 comes to a close, what better way to celebrate the Holidays than to serve a taste of Canadiana at your next holiday party or get together.

The “Crown Canadiana” is a unique blend of  Crown Royal MAPLE Finished, Schweppes Dark Ginger Ale and Cinnamon blended with a hint of Basil to bring out rich earthy flavours.   It’s a spin on the ordinary ‘Rye and Ginger’

bottle

I thought it was fitting to introduce this recipe seeing as we have had such unseasonable warm, and green Christmas thus far, here in the *traditionally*, Great White North.   Mixed drinks are taking on a whole new twist especially as we experiment with adding fresh herbs to our favourite alcoholic beverages.  Maple and Cinnamon are a traditional complementary blend, now add a little basil (or mint), and it is a whole new experience.

Instructions:

  • In an ‘Old Fashion” whiskey glass add a Basil leaf and mash with the back of spoon.
  • Add one ounce of Crown Royal MAPLE Finished
  • Three ice cubes
  • Top with three to four ounces of Schweppes DARK Ginger Ale
  • stir with Cinnamon stick and leave in for garnish

Crown Royal Maple Finished

Note:

When adding fresh spices to any beverage, make sure you massage the leaves as this will release releases the natural juice in the spice itself,  (you can also crush it however it doesn’t look as pretty in the glass).

Crown Royal Maple Finished and Schweppes Dark Ginerale.

Enjoy and All the Best to You and Yours this Holiday Season!!

Save

Posted in Entertaining | Tagged , | Leave a comment

Tim Horton’s Coffee Painting

tim hortons coffee painting

Begin Painting with Coffee Medium / Base:

tigers1tigers2

A friend of mine sent me a youtube video recently of a woman who paints with coffee.  After watching it, I started to do my own research into ‘coffee painting’.  There are many, very gifted artists out there, who use coffee as a medium, and I invite you to check them out.

My very first Tim Hortons coffee painting was quite rough.  I used a cup of ‘Timmies’ regular roast (black).  Although any brand will do, I prefer to use my Tim Hortons blend, mixed with a slurry of light acrylic paint.

Tim Horton’s coffee and I, have a lot in common.

We were born the same year and we’re both Hamiltonians.

I have fond memories of trips to Timmies with my dad when I was young.  We’d go there on Saturday mornings.  We’d sit in the corner table of “store number 16”.  I’d look up at the painting of Tim himself on the wall next to the counter, and dad would tell me the story of the hockey player who had died in an accident, well before his time.

He’d puff away on his cigarette (I know eh?),   whistle a light tune, while we ‘people-watched’.  I’d have the usual, chocolate milk, or hot chocolate in a real china mug,  and a chocolate dip donut.  Sometimes, he’d get me a my favourite donut ~ a bowtie.  It was a super -duper hot-dog-bun-size donut, filled with real whipped cream, chocolate ganache on top, another dollop of whip cream, and a cherry on top.  But that was an EXTRA Special treat, because bow-ties cost a whole 35 cents.

I’d felt that it was an over-indulgence.  But dad would sometimes buy them for me, and it was great.

The following is a series of Tim Hortons Coffee paintings that I’ve painted with regular roast coffee, as a base.  I’ve mixed it with a light acrylic in some cases, to get the deeper richer colours of dark brown and some of the black, etc..

Add Details:

tigers2a

I also love my cats.  Domestic, wild and of course my TiCats.  What better mascot to paint with coffee?  Feel free to write to me if you’re interested in any of my work and I will respond promptly.

tiger 4tim hortons coffee painting

Thanks for visiting 🙂  rawwwr….

Posted in Art | Tagged , , , , , , | 2 Comments

Honey, Who did you vote for?

filomena

Me: “Hey honey, who did you vote for ?”

Honey:  “I voted for that Italian Catholic chick.   I figure that my ass is already governed by one of you, so heck…it may as well be the two of you…   :-D”

Me:  tee hee….

****************************************************************

You done good Filomena Tassi!  Congratulations Prime Minister Trudeau 🙂

Posted in Newsworthy | Tagged , , , | 1 Comment

Vegan Chocolate Cake

Vegan-kid

“Oh Mom, vegan food can be quite delicious you know”?

From the time I first started introducing foods to my daughter many years ago, she had a violent distaste for meat.  I tried Gerber starter meats in a jar, I tried mixing it with veggies, I even made my own baby food with carrots, peas, and sauteed ground beef gently seasoned and made into a puree.  No matter what I tried, she just couldn’t stomach it.

It wasn’t for a lack of trying though.  As a youngster, she desperately wished she could eat a hamburger.  She wanted to feel like she ‘fit in’ at children’s birthday parties at McDonalds, and was quite embarrassed by her predicament.

As she grew, I tried hiding things in her food.  Salmon mixed in with scrambled eggs.  I used to tell her that pepperettes were a vegetarian salted delight.  It got the the point where she no longer trusted my food.

Last year she became a Vegan.

There is a saying that goes “Bless the beasts and the children, for they have no voice and they have no choice”. 

I used to think that there was something wrong with her, and her food choices.  The more I got to know what it was like for her, the more I started to think that perhaps its the rest of us that have it all wrong?

My daughter is a lover of all the world’s creatures and she has decided that she will not participate in innocent slaughter, so she eats NOTHING that comes from an animal.  Ironically, that takes great intestinal fortitude in my books and I’m really proud of her.

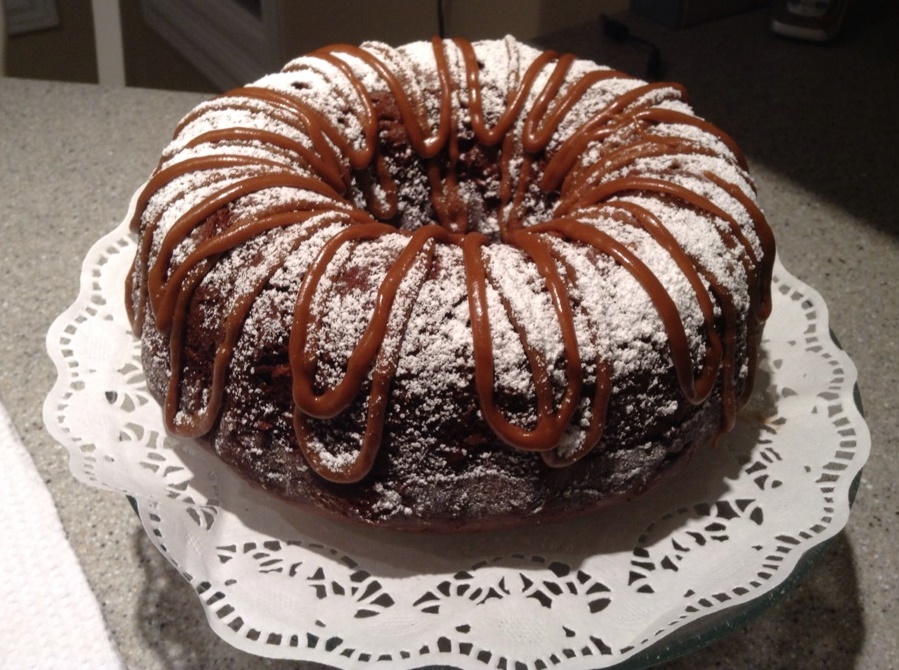
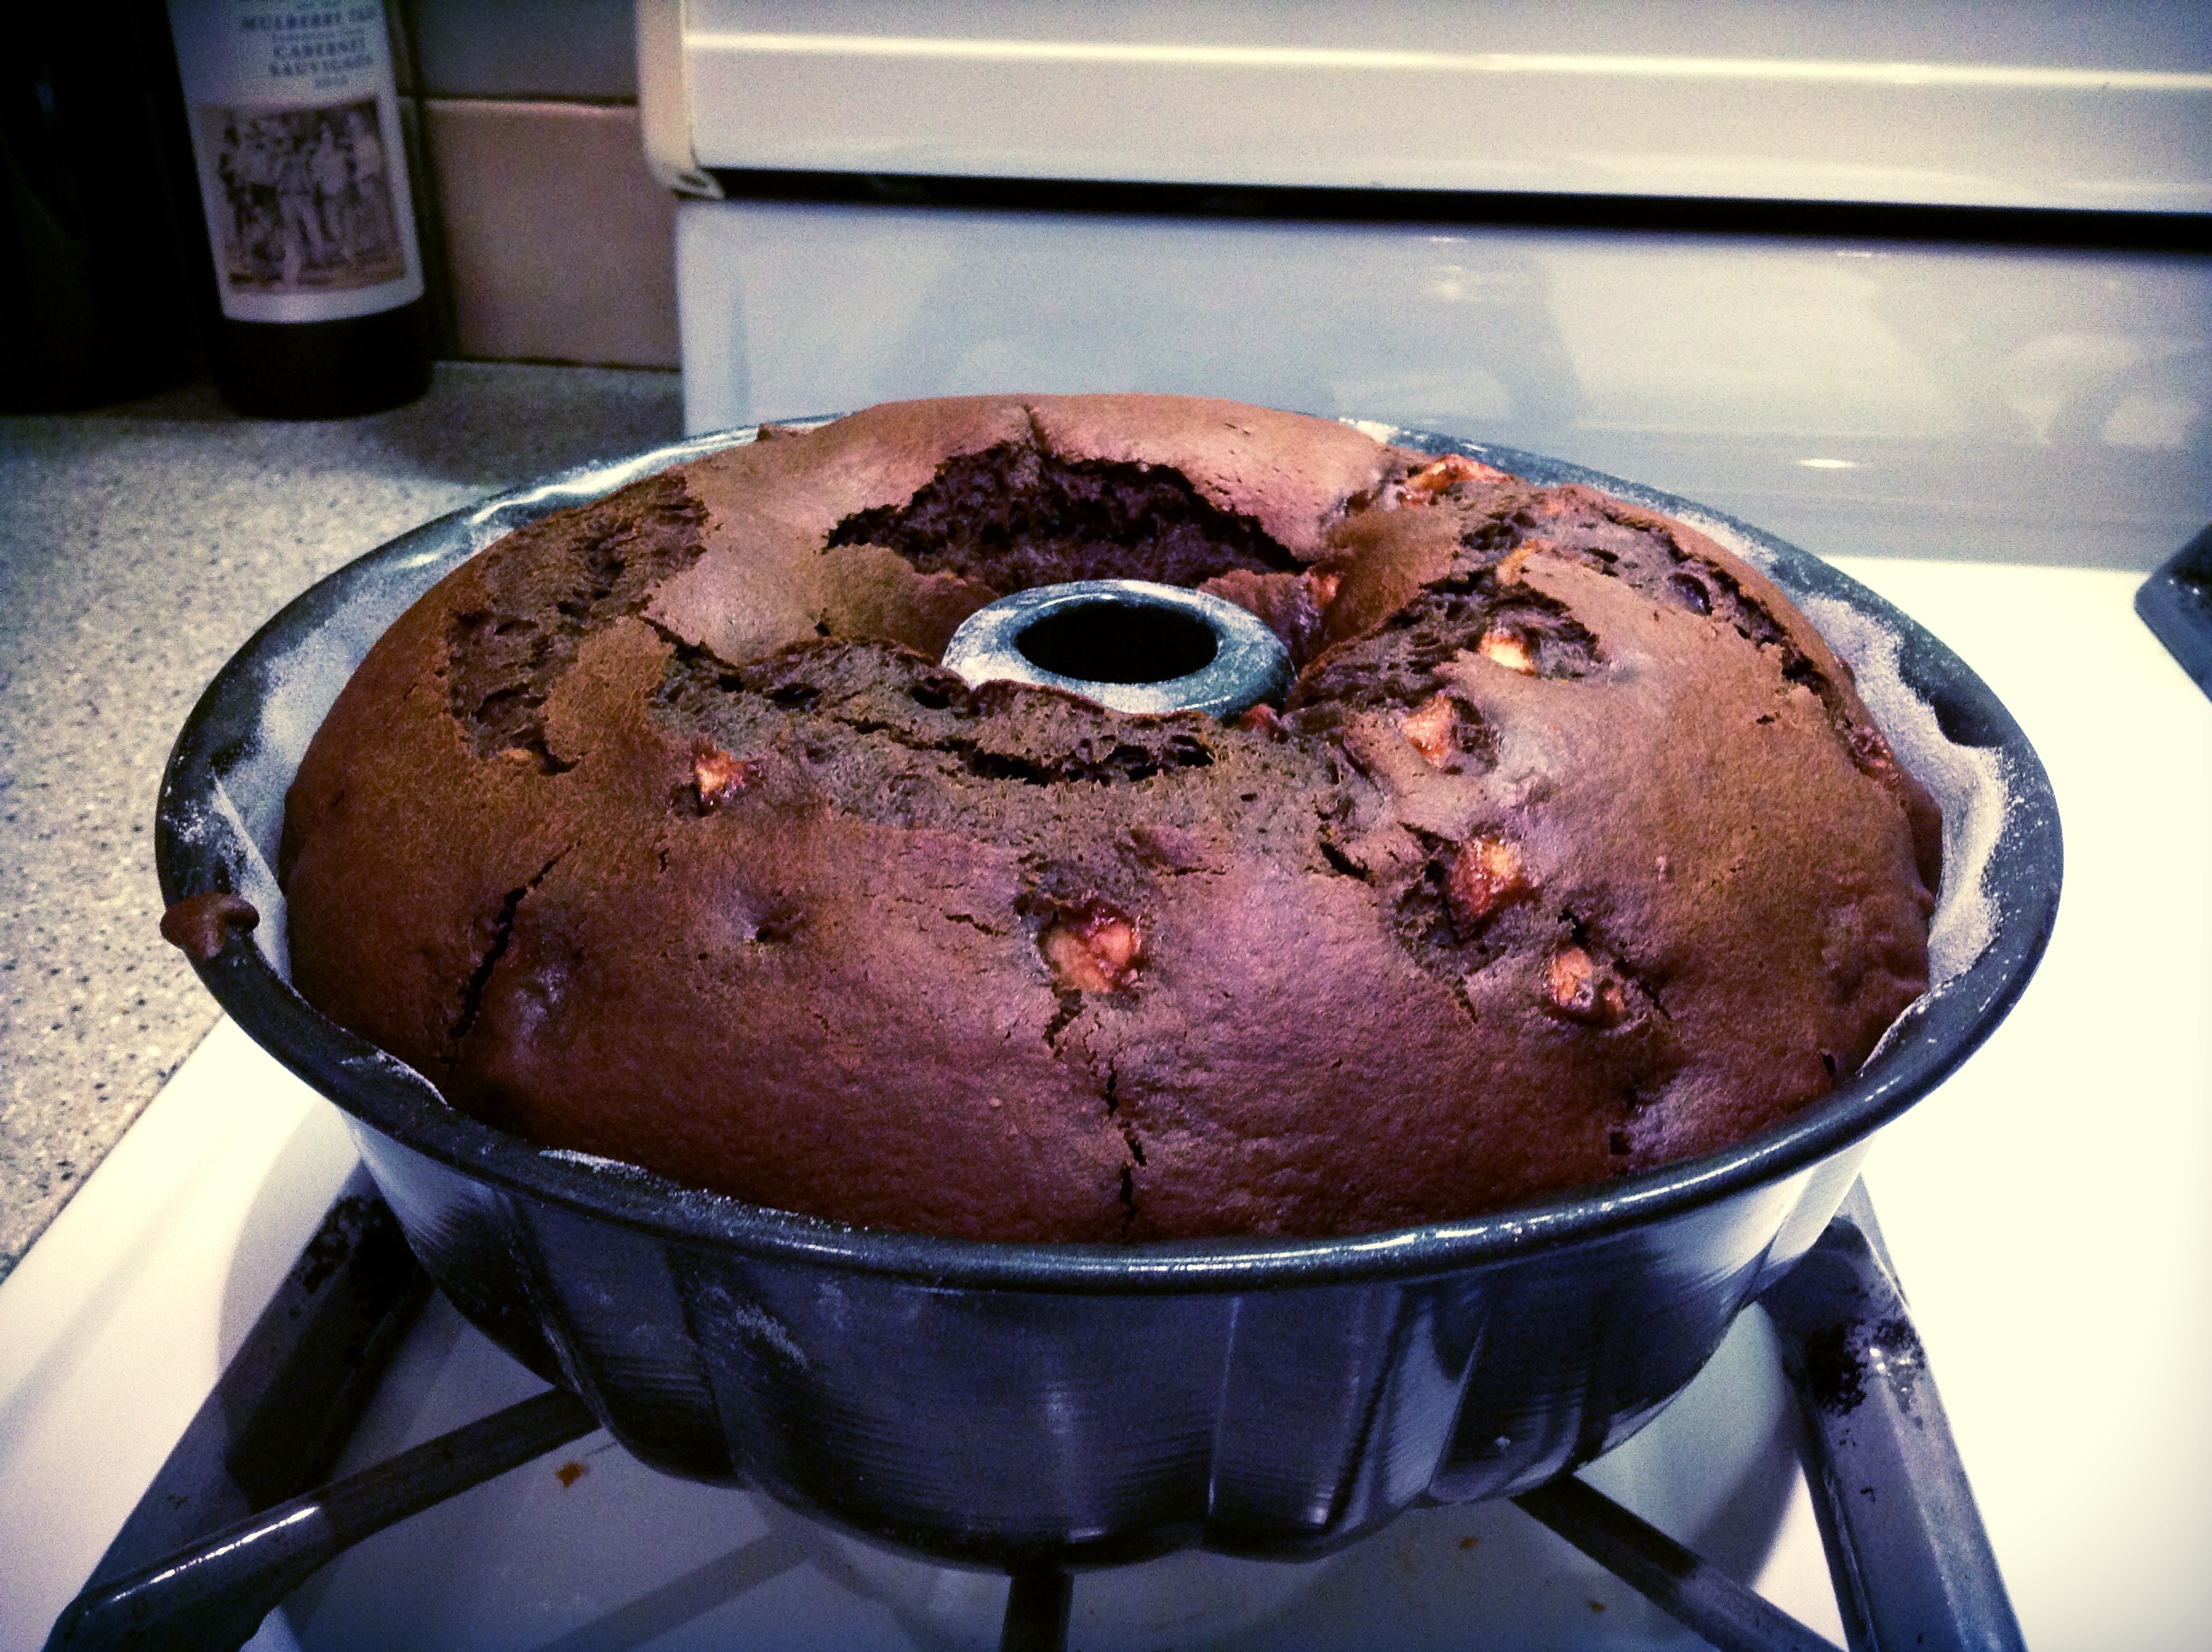
One evening while we were sitting around wondering what snacks were in the house, she suggested we try creating a vegan dessert.  She assured me that one doesn’t have to feel like one is going without, in order to eat delicious food.   I tried this version of a standard chocolate pear cake and added a few twists to eliminate all animal products.  This means, no milk, no eggs, no butter.

The result was surprisingly and shockingly good!  So good, that my other ‘meat-eating’ children couldn’t get enough of it and gobbled it up.  If you have any Vegan recipes you would like to share, please feel free to drop me an email and provide your particulars and I will try my best to post in a timely fashion.

vegan-cake
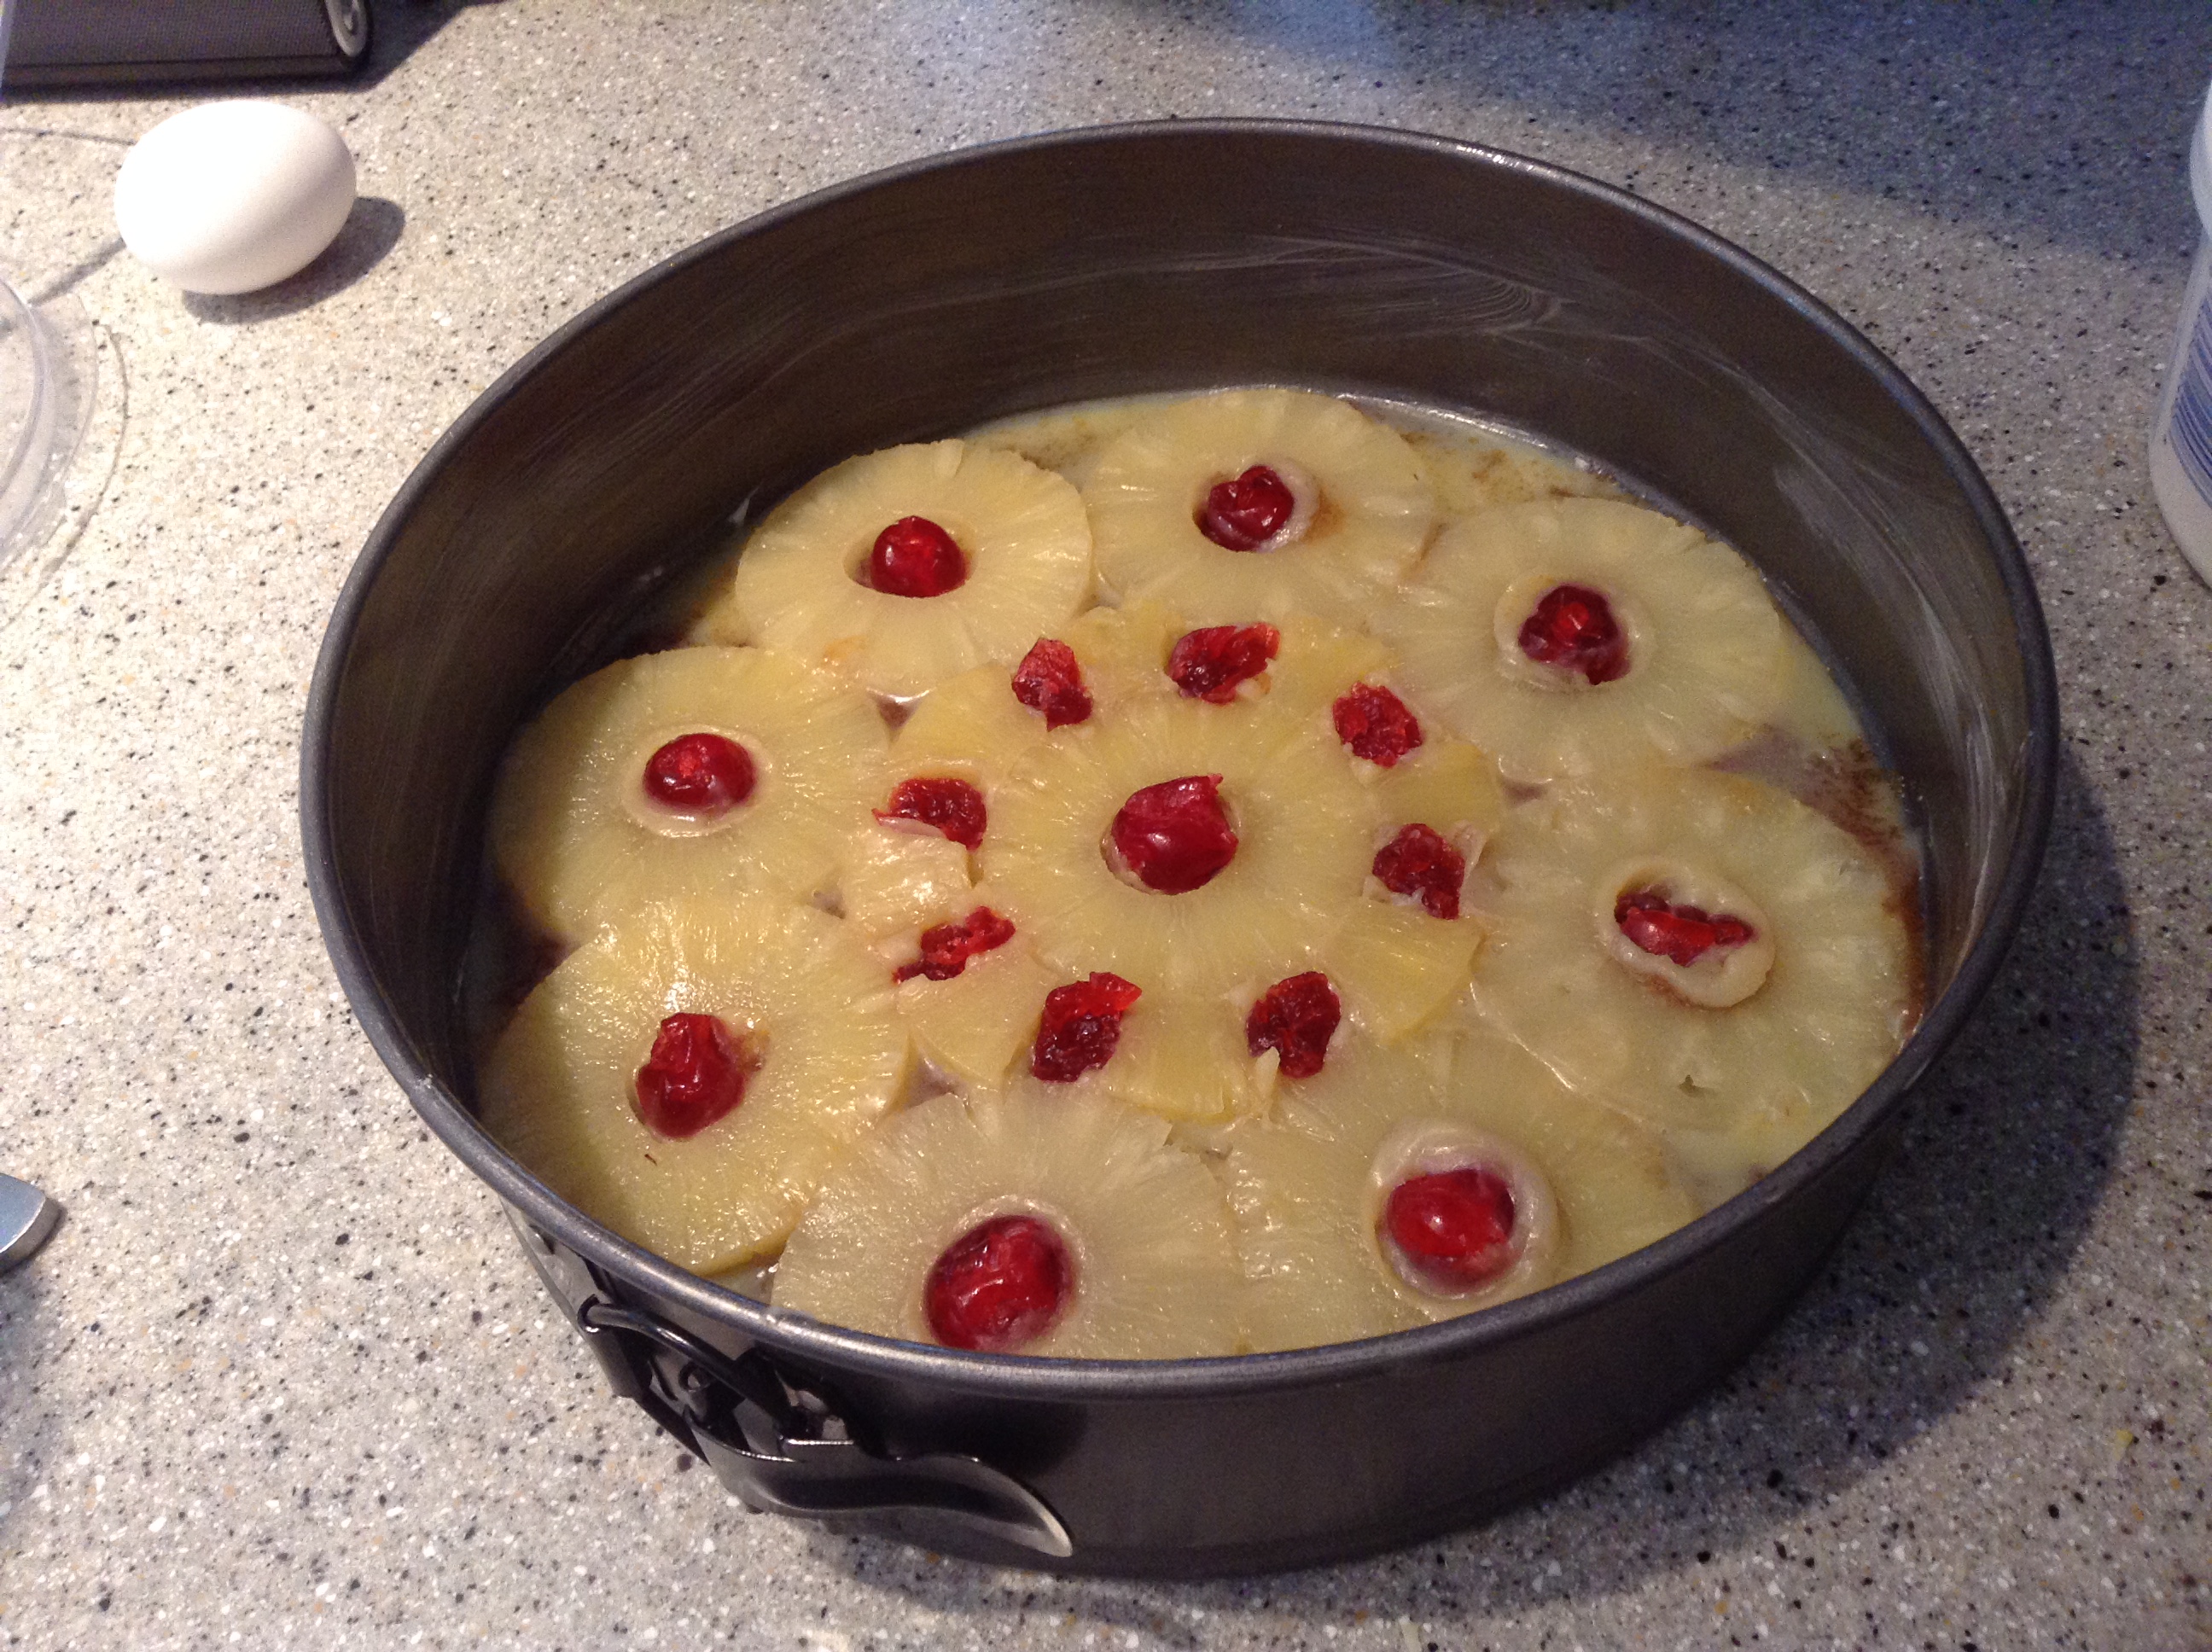
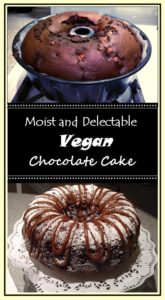
Vegan Chocolate Pear Bundt Cake – with Caramel Rum Sauce

 cake

•  1/2 cup olive oil or coconut oil
•  1-1/8 cup warm water
•  1 cup dark brown sugar
•  1/4 cup molasses
•  2 tablespoons white vinegar
•  1 teaspoon vanilla extract
•  1/2 teaspoon baking soda melted in 1 teaspoon of warm water
•  3 cups of pastry flour
•  6 tablespoons of cocoa powder
•  1 teaspoon of baking powder
•  1/2 teaspoon salt
•  1 tablespoon ground ginger
•  1 teaspoon freshly ground cinnamon
•  1/4 teaspoon ground nutmeg
•  1/8 teaspoon ground cloves
•  4 medium pears, peeled and diced 1/2-inch
•  1/4 cup powdered sugar for dusting

For the Caramel Sauce:
•  1 heaping teaspoon of coconut oil in a small pot
•  2 teaspoons vanilla
•  1/8 teaspoon salt
•  3/4 cups brown sugar
•  1/4 cup spiced brandy or rum

Directions:

•  Preheat oven to 350°F.
•  Grease and flour a bundt cake pan and set aside.
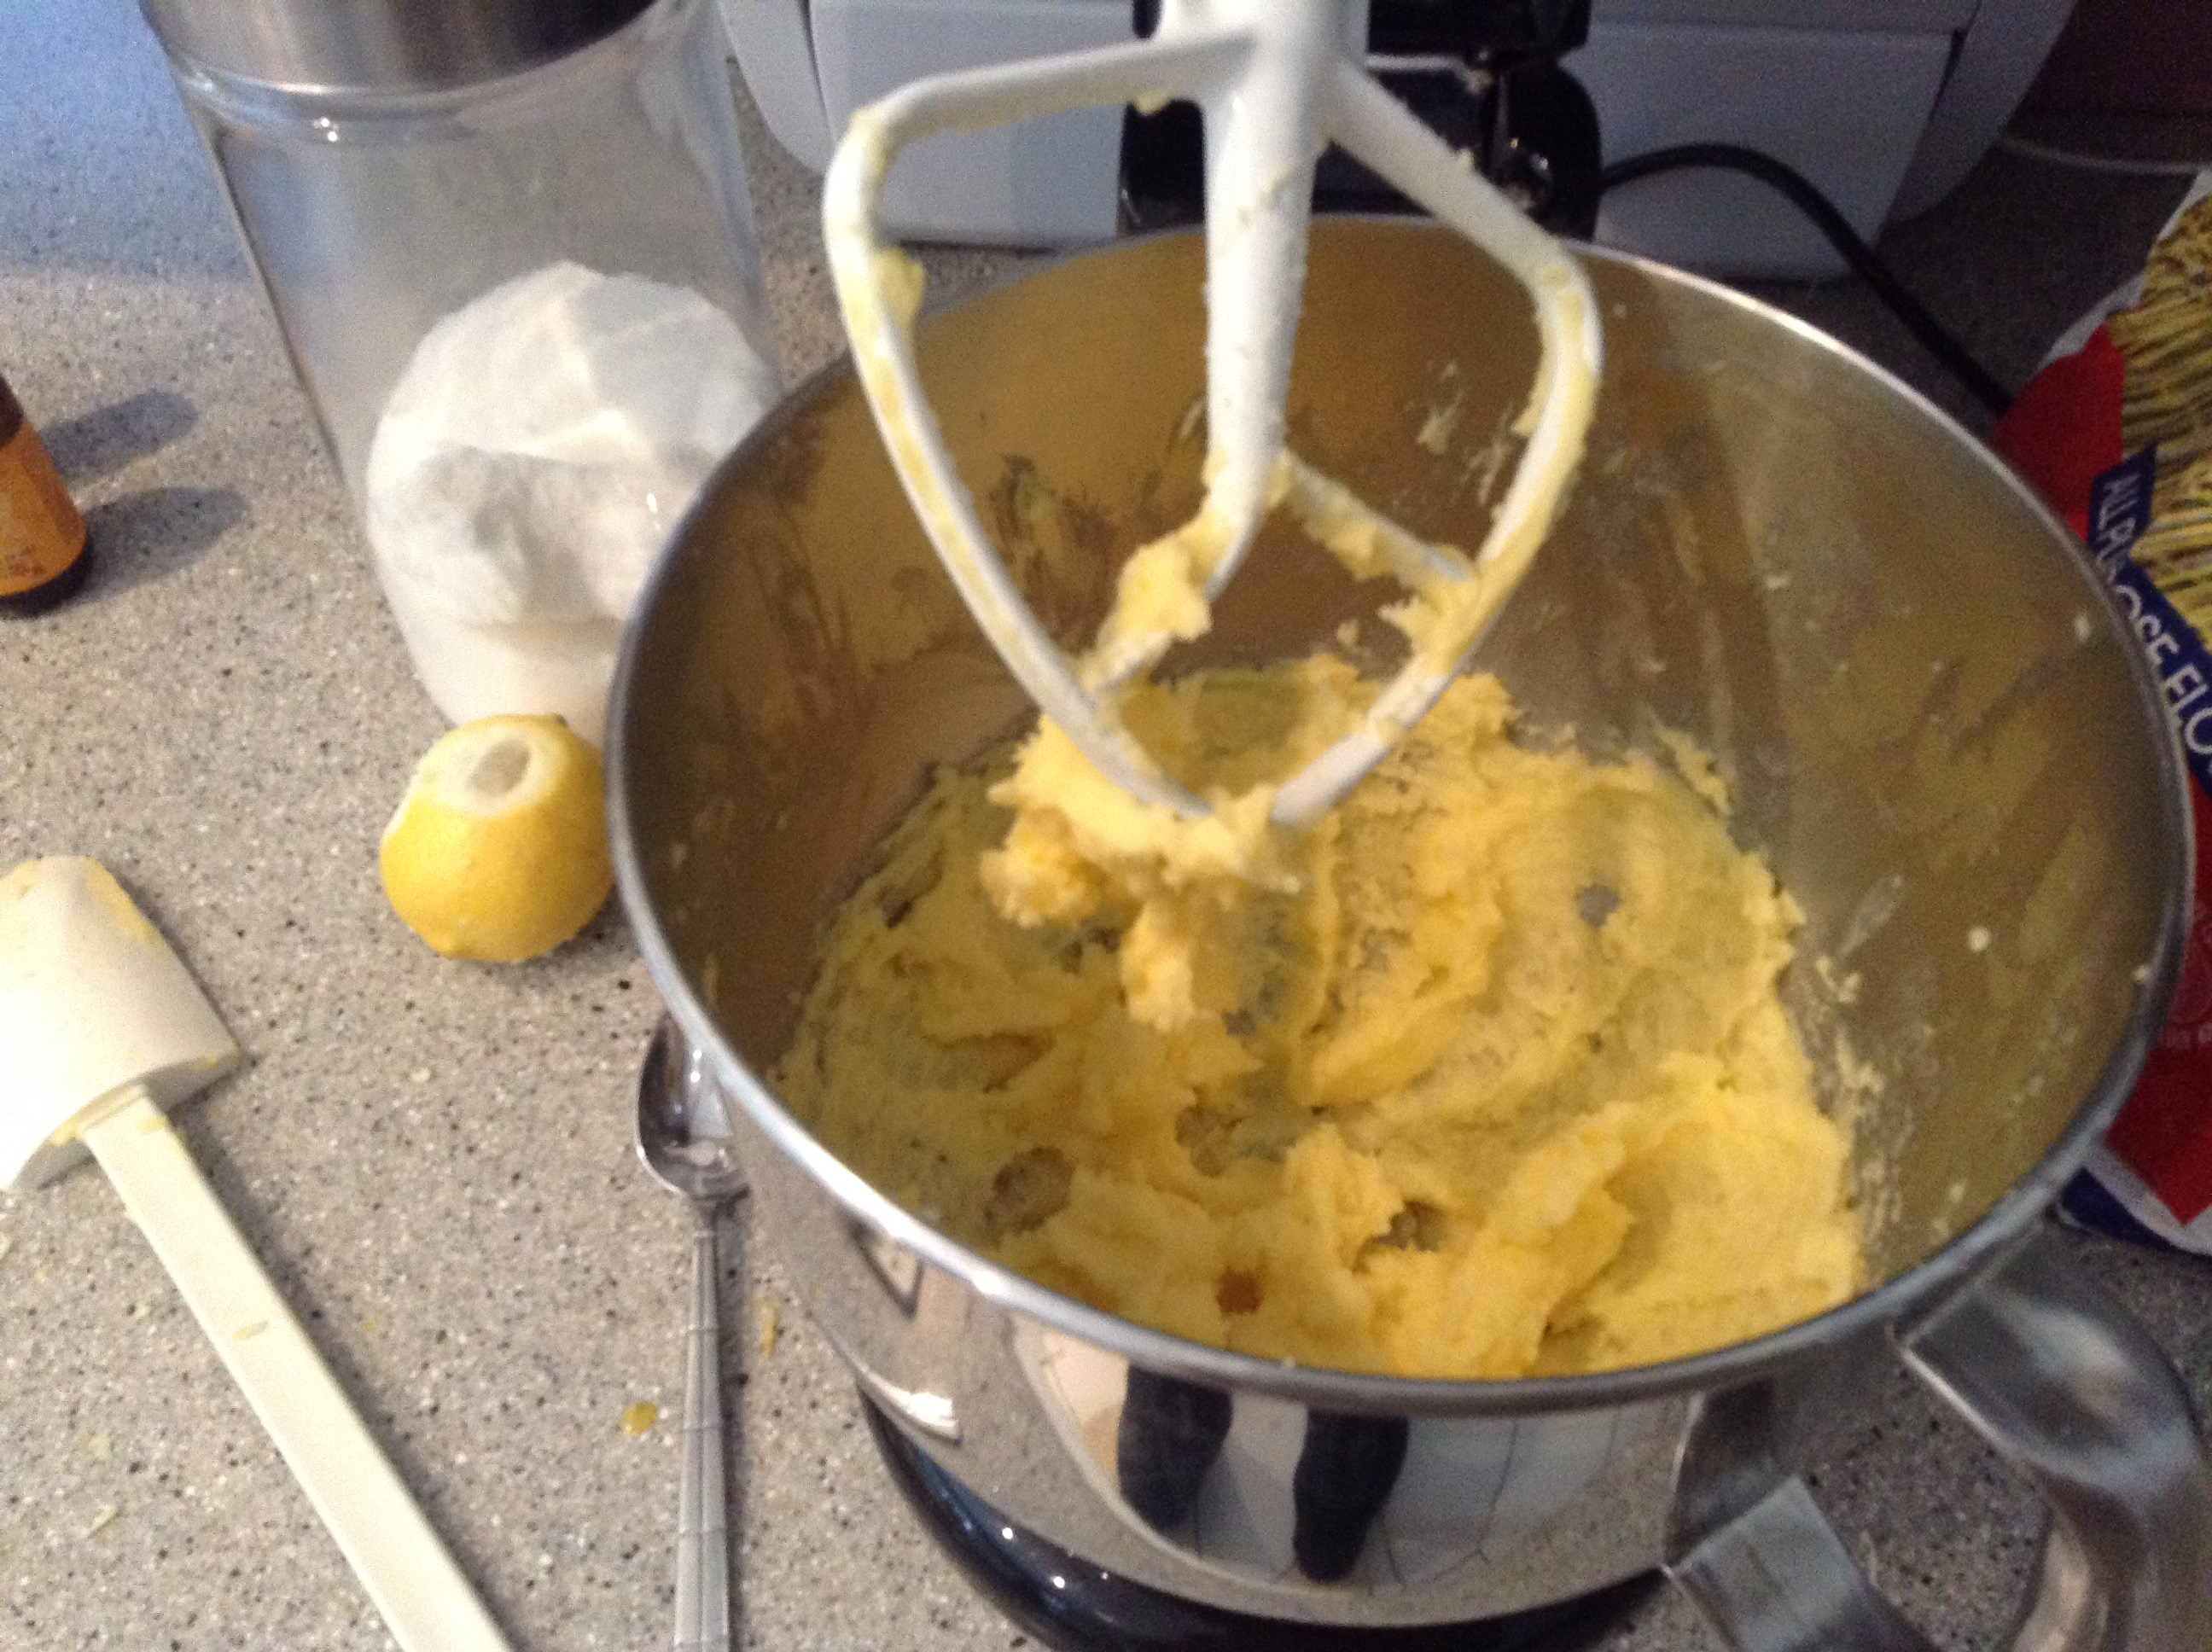
•  In a Kitchenaide mixer, add the oil and brown sugar, molasses and cream together.
•  Add in the warm water, vanilla, baking soda and vinegar. Mix well.
•  In a separate bowl, combine the flour, baking powder and spices.
•  Slowly add in the flour and spices into the mixer until incorporated.
•  Mix at medium speed until mixture is smooth with no lumps.
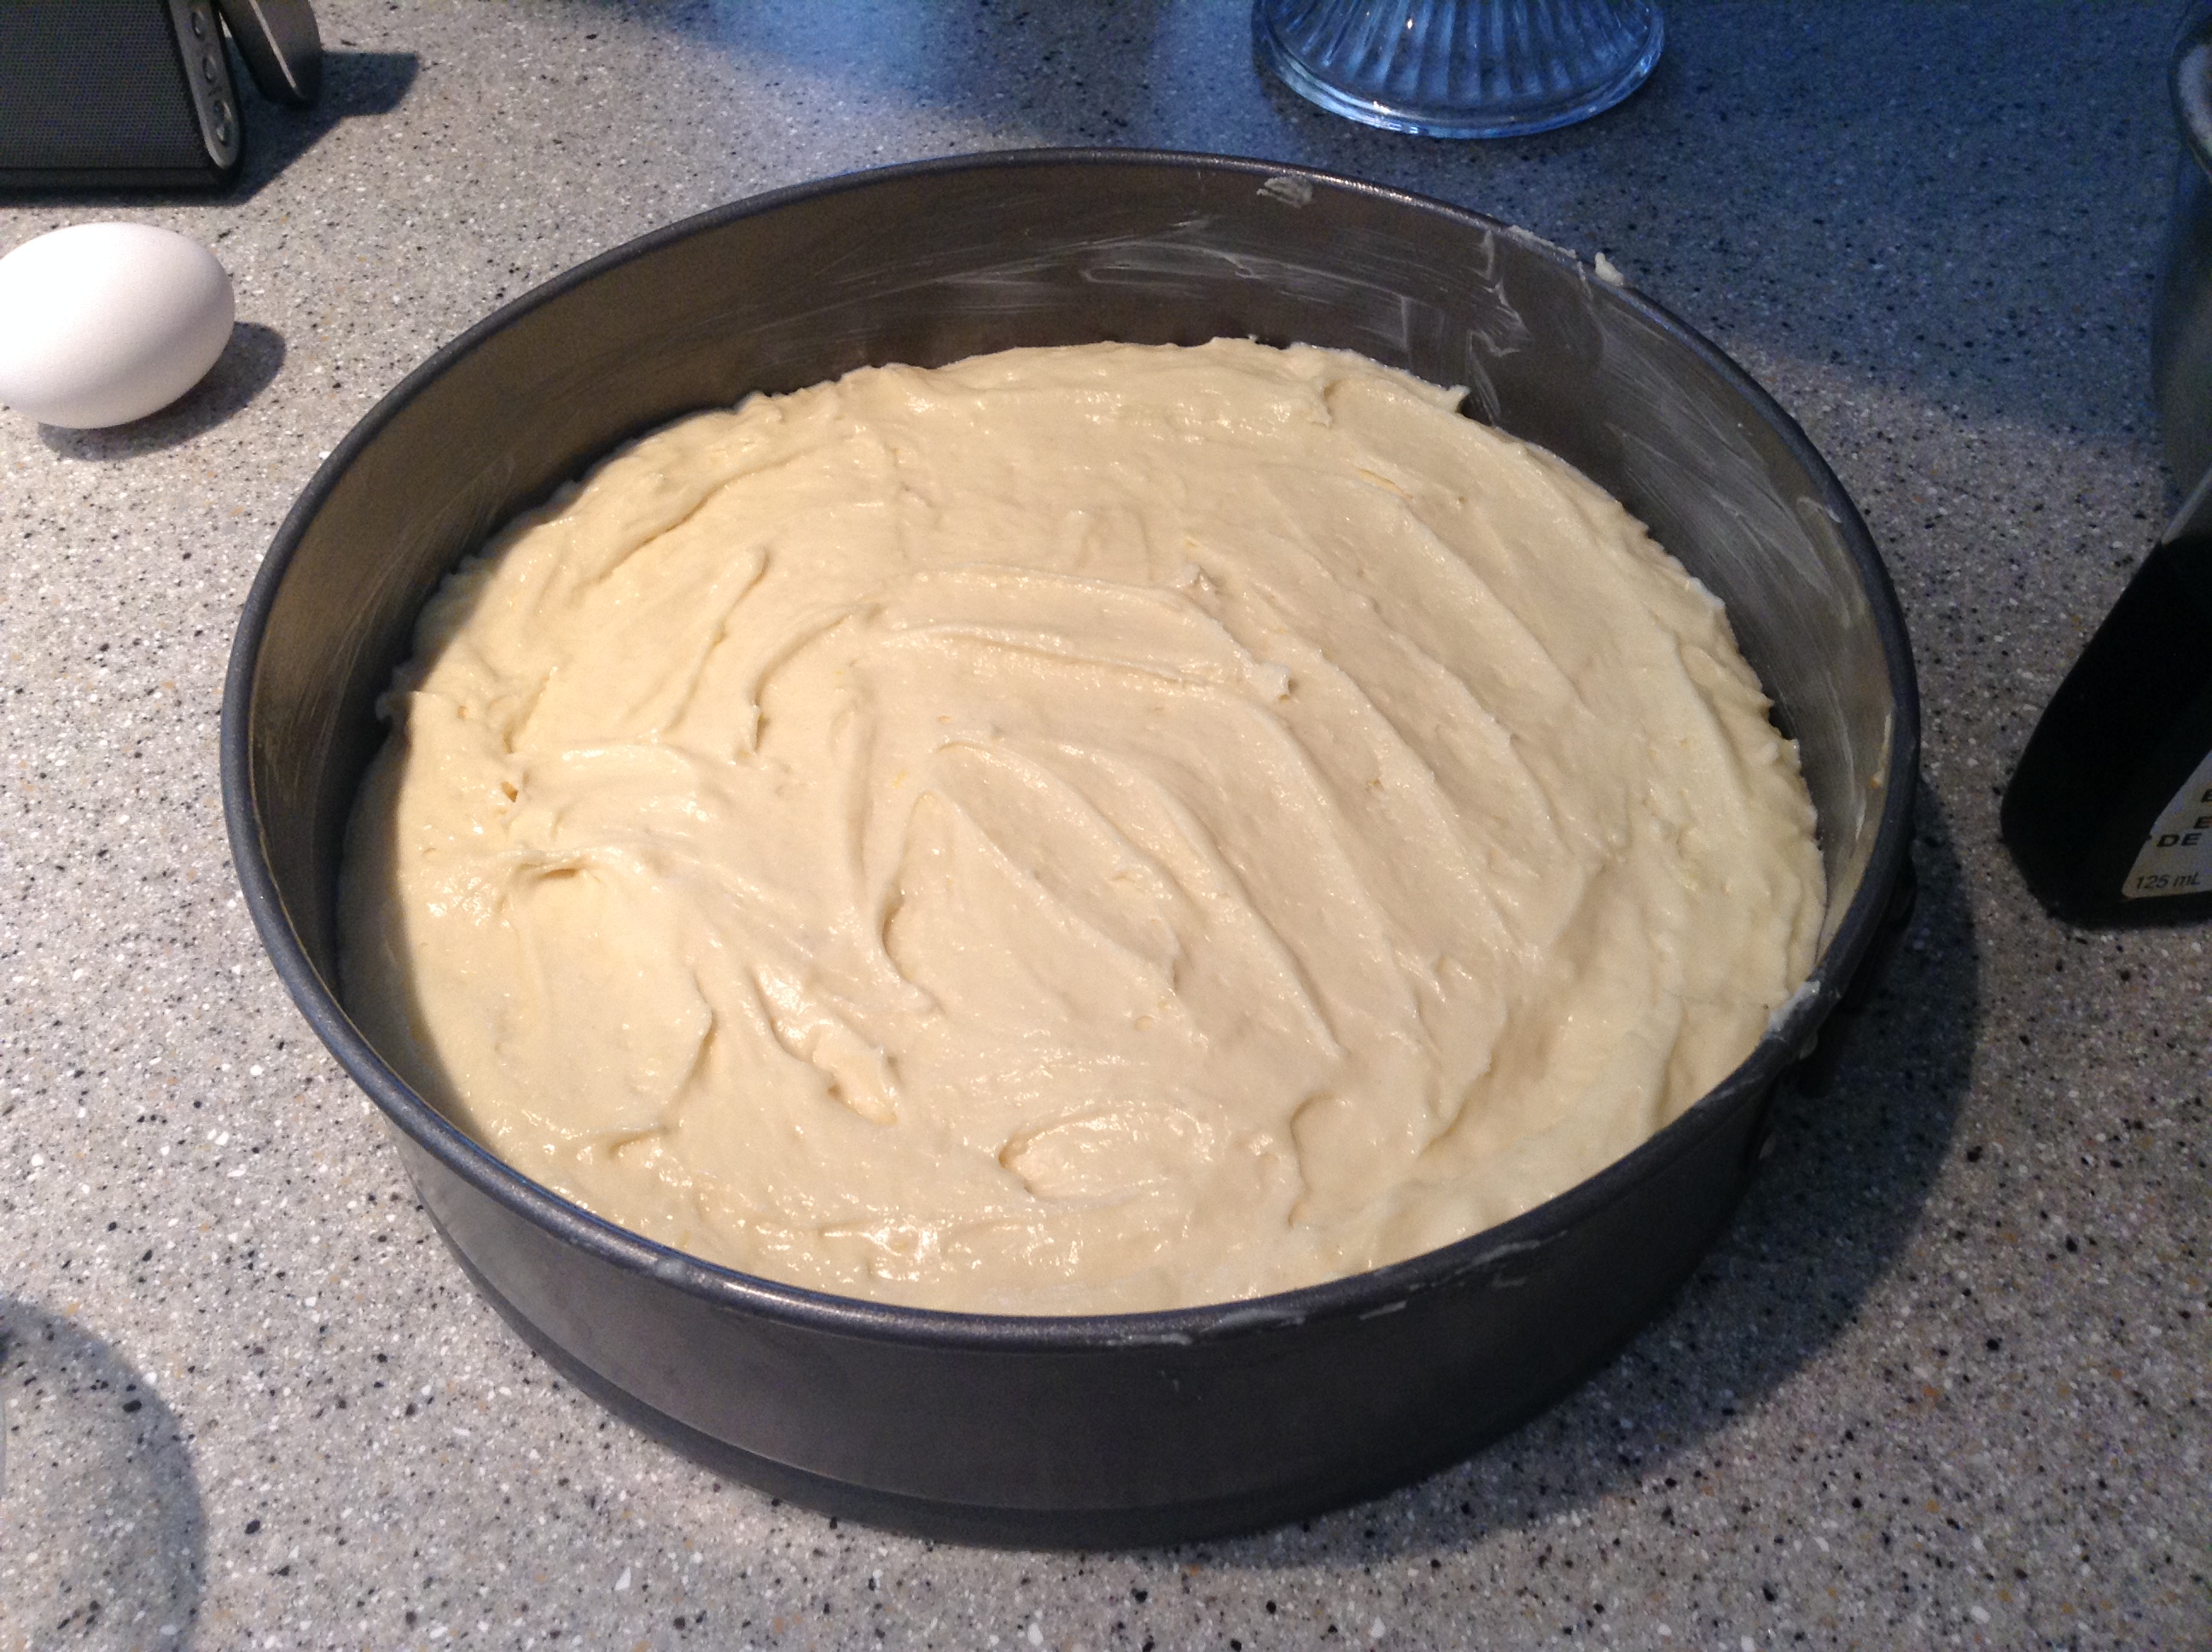
•  Add in the cubed pears and incorporate well into the mix
•  Pour batter into the bundt pan and bake for about 50 minutes or until toothpick comes out of the cake dry.
•  If cake is not yet done, leave to cook for an additional 5 minute intervals.
•  Let cool for at least one hour, then invert the cake onto wire rack.
•  While the cake is cooling the icing can be prepared.

cake2

Directions for Icing:

•  In a small saucepan, add the oil and brown sugar and bring to boil while constantly stirring.
•  Sugar will look as if it is separating from the oil while heating.
•  Add in the vanilla and salt then add in the rum or brandy.
•  The mixture will instantly boil up. Continue stirring throughout and it will settle.
•  Mix will be smooth, not grainy after adding the alcohol.
•  Remove from heat and set aside to cool.
•  When cake and sauce have cooled, sift powdered sugar onto cake over top and sides.
•  Stuff the sauce into clear plastic sandwich bag
•  Seal bag and cut off tip (small cut)
•  Squeeze the caramel sauce onto cake in zigzag pattern
•  Remove finished cake from wire rack and onto serving plate.

Slight variation,: For an equally moist and delicious alternative, you can substitute 3 cups of shredded zucchini in for the diced pears.

Let me know how this turns out for you 🙂

Save

Save

Save

Posted in Recipes | Tagged , , | 2 Comments

Missed Job Interview

christian bale2

(names have been changed to protect the identities of the people below)

RULE # 1: Show Up:

A recent job search for a talented project manager yielded over 150 applicants for a role posted in my department. The criteria was specific, minimum 10 years experience, construction background, yadda yadda…my goal was to interview from a selected few, work my way through the first interviews then bring back two or three candidates for a second, and possibly, a third interview.

Fairly straight-forward, nothing out of the ordinary…right?

Last week, I had worked my way through several first interviews and had just one left to go. I needed to be away on business earlier in the week, so I booked my last candidate for 1pm on Friday. This person met all the criteria ‘on paper’, great resume, relevant and impressive experience, impeccable cover letter.

Friday came. At 1:00pm I checked the lobby and no one had arrived yet. At 1:10 pm one of the office staff went to check the lobby, and no one was there.

Strange?

This has never happened before?

RULE #2:  If you don’t want the job and don’t want to waste your time in an interview; be courteous ~ call and cancel:

I waited, and waited …1:20pm, 1:30pm…

When suddenly I thought “this is weird… but still… I will give this person the benefit of the doubt, so I’ll call”

ring, ring, ring….

<voicemail responds…hello this is Guenther Herman, I’m not available to take your call…>

“hello ‘Guenther’, this is Gina, we had an appointment today at 1pm. I just wanted to make sure nothing is wrong, or perhaps we got our wires crossed? Please feel free to call me back to discuss”

RULE #3:  Call back, apologize, make up a story, but do not send an email that says this:

**********************************************************************

Hi Gina,

Sorry, I did not attend the interview today, because, I am very much scared of working for i-talians anymore. My experience with previous employer & some of the nice idiots has proved that they are nothing but racist, sadist and psycho. I dedicated and shown my loyalty to previous employer named stupid ‘tony malony’, but he brutally spoiled my career giving a bad reference & recommending some of the employers to not hire in their organizations!!!! what a fantastic idea to spoil one family.

Anyhow, I avoided my interview because of this very basic reason and i don’t want to experiment anymore. You may not be the same, but, what-if you are related to some of your nice friends and give me a hard-time

Guenther

***********************************************************************

BAH! Can you believe it?

This is was no joke.  It really happened.

For more ways to see how you too can commit career suicide, please visit:

http://www.computerworld.com/article/2536820/it-careers/5-easy-ways-to-commit-career-suicide.html?page=2

Posted in Techtalk | Tagged , , , , , , | Leave a comment

Vintage and Memories …

nostalgia

Bed-in-a Bag….You’ve seen them. A quilted bedding ensemble complete with pillow shams and matching sheets that come in a clear heavy-duty plastic zip-up bag…

My mother has a way of re-purposing almost anything. When it comes to the bed-in-a-bag “baggie”, for example, she’d either be storing blankets in it, beach towels, sweaters, table linens, seasonal clothes, or odds and ends.

Around the time my first child was born, she presented me with one of those clear thick plastic bags, complete with plastic handles, and inside were some very old things “baby’s things” that she had kept preserved for years. A blanket made of white pom-poms, strung together in a grid, then mounted on a smart-looking pink lining, apparently made for me by an old friend of the family. It was hand-made, and hardly ever used. I’m told that she had it displayed in my bassinet on my Baptism day. Other items in the bag were my first pair of walking shoes, my first grip-soled slippers, infant undergarments, the outfit that I wore home from hospital for the first time (my sister bought this for me),

baby bonnet:

IMG_2890

and sun hats,

several hand-made booties in addition to these ones:

IMG_2891

but most specifically my Baptismal gown:

IMG_2888

I had kept it for years, in that clear bed-in-a-bag baggie. The thought suddenly hit me that all it ever did was sit on the top shelf of my closet, never to be used, or see the light of day (which in hindsight, was probably good for the garment’s longevity). In addition to my own precious keepsakes, are the ones that I have set aside that belong to my own children. My children might decide one day, that these things are meaningful to them, or they may not. However, I believe that displayed in an appropriate fashion, they if nothing else, can hold a place in the past and serve as a talking piece for generations to come.

One way to preserve and display some personal treasures is by way of shadowbox or framed display cases. The following project takes only 30 minutes to complete, and makes a thoughtful keepsake, or special occasion gift for someone special.

For this project you will need:

  • 16″ x 20″ x 1″ display style picture frame
  • Decorative background papers (scrapbooking paper, remnant wallpaper, or wrapping paper)
  • Push Pins
  • Photos
  • Articles of clothing
  • Lace
  • Ribbons
  • Pieces of greeting cards
  • Other small collectible items

A display style picture frame can be purchased at any major arts and crafts supply store. This one is 16″ x 20″ x 1″

IMG_2893
You might decide that the backing of the picture frame is adequate, however I wanted something a little more vintage-looking. These scrap booking papers were not quite the same size as the background, however the seams would eventually be covered.

IMG_2894

Arrange the articles of clothing first, then overlay the photos and other small items.

IMG_2895 IMG_2899nostalgia2 IMG-20121104-02076

When satisfied with the arrangement, secure the items with push pins.

nostalgia1
This method can be used for any type of keepsake display.

I hope you enjoy your weekend project.

Posted in Projects | Tagged , , , , | Leave a comment